Yesterday’s post talked about the concept of finding things missing, or needing implementing when moving from CMS-as-a-base to pure development frameworks.
Yesterday it was enforcing password complexity. Today’s post is about the very core of a CMS – WYSIWYG content editing.
There are plenty of different options for WYSIWYG editors. I took the opportunity to scout around to see what was available, and finally settled on Summernote.
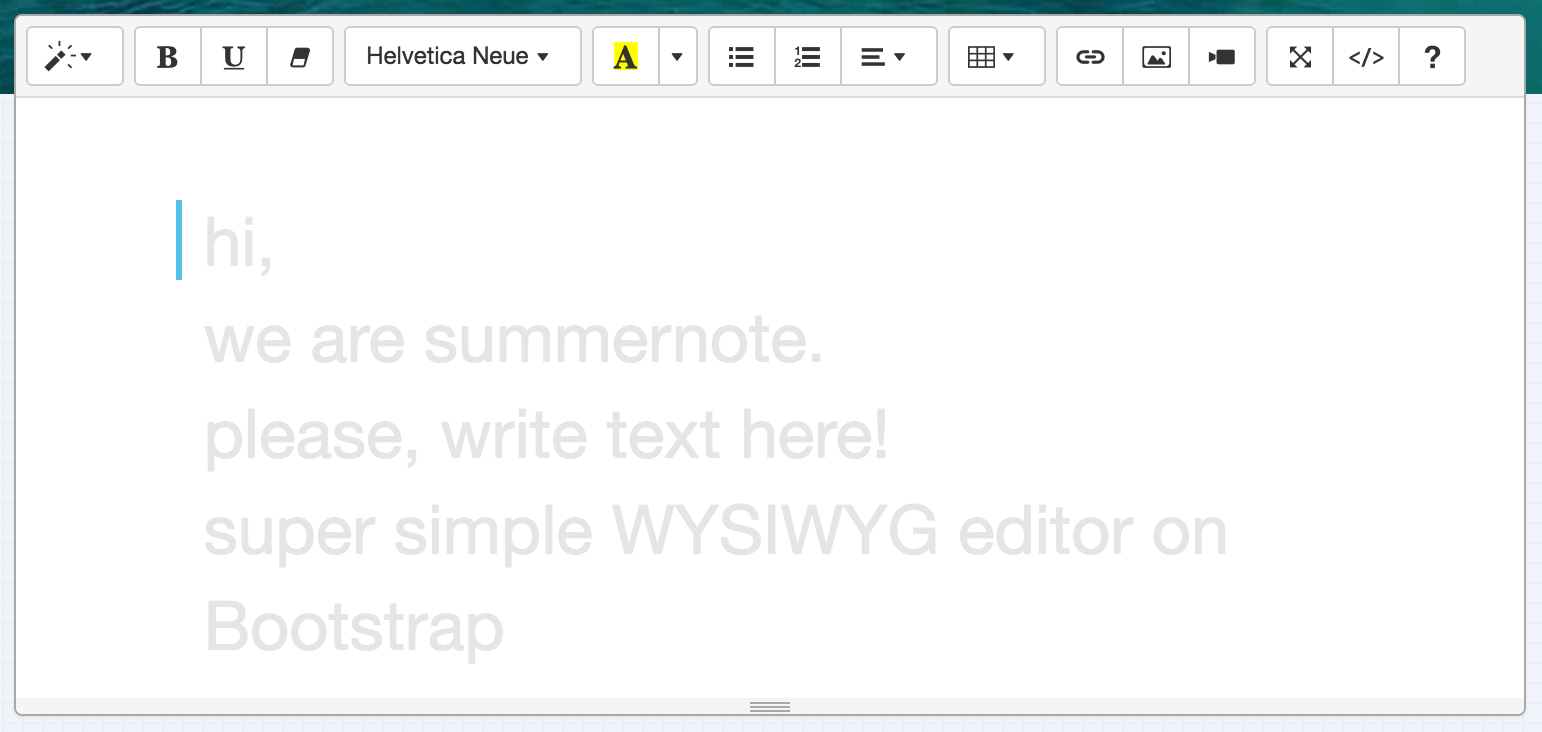
It’s simple, easy to configure to choose which elements you want to make available, you can just attach it to your textarea to have the markup submitted by your form, e.g.
<textarea class="summernote" rows="8" name="description" cols="50">
</textarea>
$('.summernote').summernote({
 height: 300,
 toolbar: [
   ['style', ['style', 'bold', 'italic', 'underline', 'clear']],
   ['font', ['strikethrough', 'superscript', 'subscript']],
   ['para', ['ul', 'ol', 'paragraph']],
 ],
 styleTags: ['p', 'blockquote', 'h2','h3'],
});
Next time you need a WYSIWYG editor – give Summernote a try.
July 8, 2019 at 8:09 pm
I’m a beginner and I’m struggling with loading Summernote into a custom form in WordPress. Do you have a complete example that would illustrate the entire process?